July 22
Started flap construction today. Began with the process of identifying and locating parts, removing blue plastic, etc. There is a some rib modification required, a fair amount of final drilling, and of course everyones favorite, deburring. Nothing too difficult, but does require a few hours.


July 26, 2018
After final drilling the trailing edge, match-drilling the hinge brackets and few holes in the forward ribs, it was time to disassemble the flap assembly.
 |
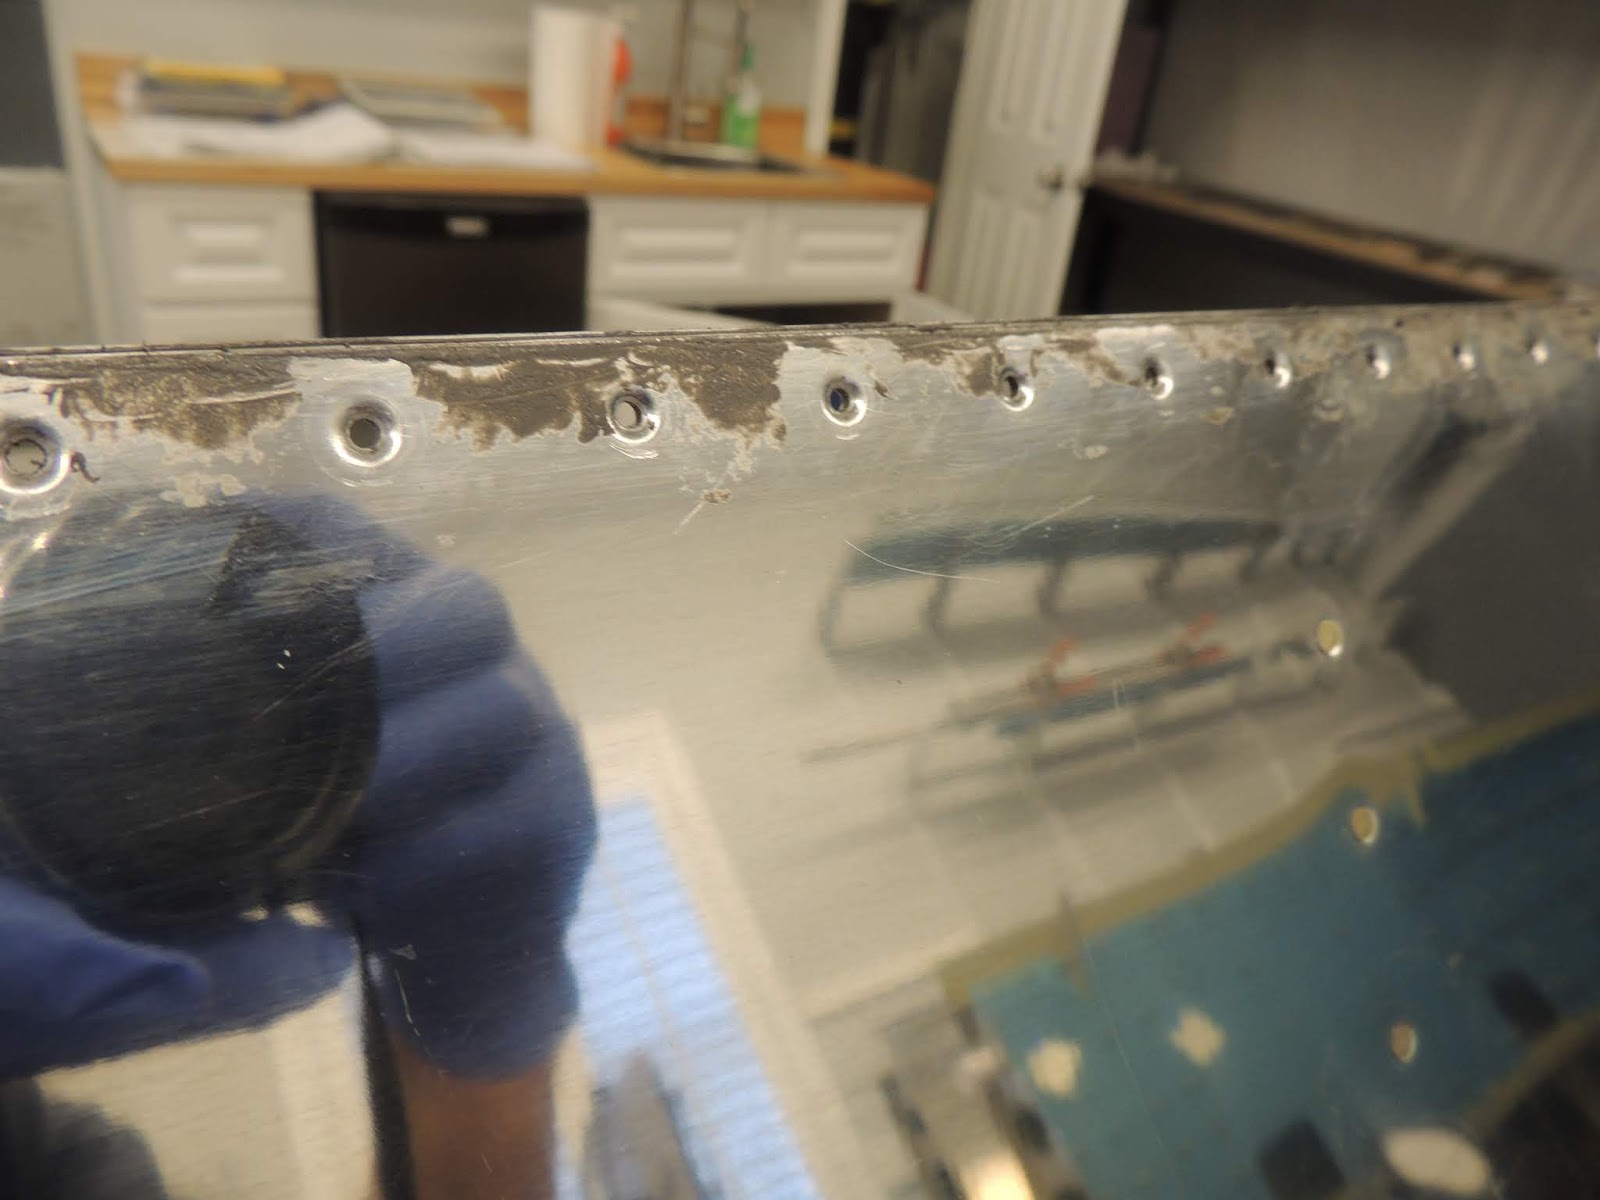
| The rivets that are used to attach the two parts of the hinge brackets will be double-flush. The holes for these rivets must be machine countersunk. The plans describe how to fabricate a drill jig so that a countersink cage may be used. I have never had good luck using the countersink cage and try and avoid if possible. Here, there only eight holes per bracket to countersink so I just skipped fabricating the jig and went freehand without the cage. I have lots of practice without the cage so countersinking these holes went fairly quickly. I have learned the hard way a few times earlier in the project to always be careful when removing aluminum from the parts. If too much is removed, it is very difficult to put back:) |
August 6, 2018
Left flap parts prepped for priming.

August 17-19, 2018
 |
| Top Flap skin in place and ready to rivet the forward edge of the skin to the spar.. |
 |
| Top skin of left flap with every other rivet taped in place. |
 |
| There are two rivets at the aft end of each rib that are set by back-riveting. |
 |
| With the back-rivet plate in position and spacers to keep the flap evenly supported, I used this straight rivet set. |
Left flap trailing edge. The RV-14 plans describe using double-sided tape to bond trailing edges of control surfaces prior to riveting. I used that process for the rudder, and elevator trailing edges with good results. However, since previous model RV's have used proseal in lieu of the double-sided tape, and since I'm now a proseal expert after fuel tank contruction, I thought I'd give proseal method a try.
 |
| Here, neighbor Scott applies a layer of proseal (flamemaster) to the pre-scuffed and cleaned area of the left flap trailing- edge. I then used an acid brush (bristles trimmed) to ensure a thin, even layer before we inserted the trailing edge piece. |
 |
| There are two goals when building flight control surfaces; a nice straight trailing edge, and no twist of the flight control assembly overall. The twist portion is monitored during actual construction and minimized using methods prescribed in the plans. A straight/non-wavy trailing edge is mostly determined during the bonding/riveting process of the trailing -edge itself. I did a couple of things to help with building a straight flap. First, I did my best to ensure my work bench was as level as possible, and was not twisted. I did this using a level in many different locations of the work-bench top. Additionally, I added two pieces of 3/4" MDF to the top of my bench. I only used two screws to attach the MDF to my bench top as I didn't want the MDF to conform to any twist that my bench may have. You then use weights placed in certain locations across the flap surface to help keep the flap firmly on the table while also helping prevent twist. To help with the straight/non-wavy portion of the trailing edge during the bonding process, I used a piece of angle iron with holes drilled for every rivet hole location along the trailing-edge. After adhesive application, I attached the angle-iron to the trailing edge using clecos in every hole. |
 |
| Left Flap |
Sep 20-23, 2018
 |
| Once the proseal had cured for several days, I removed the clecos and angle-iron from the trailing edge. The piece of angle was easy to separate from the trailing edge skin because I had put clear packing tape on the piece of angle. However, due to some proseal squeeze out, there was a fair amount of proseal adhered to the skins and in the dimples. The dimples were fairly easy to clean out, but for some reason, the sealant on the skin took some elbow grease, and a little mek, to remove. When I work on the right flap, I will apply a layer clear packing tape to the skin to try and prevent some of this from happening. |
 |
| My plan for riveting the flap trailing edge includes a piece of cold-rolled flat steel 3/8"x2"x6'. I drilled a few evenly spaced holes in the steel to hold the skin flat and secure during the back-riveting process. |
 |
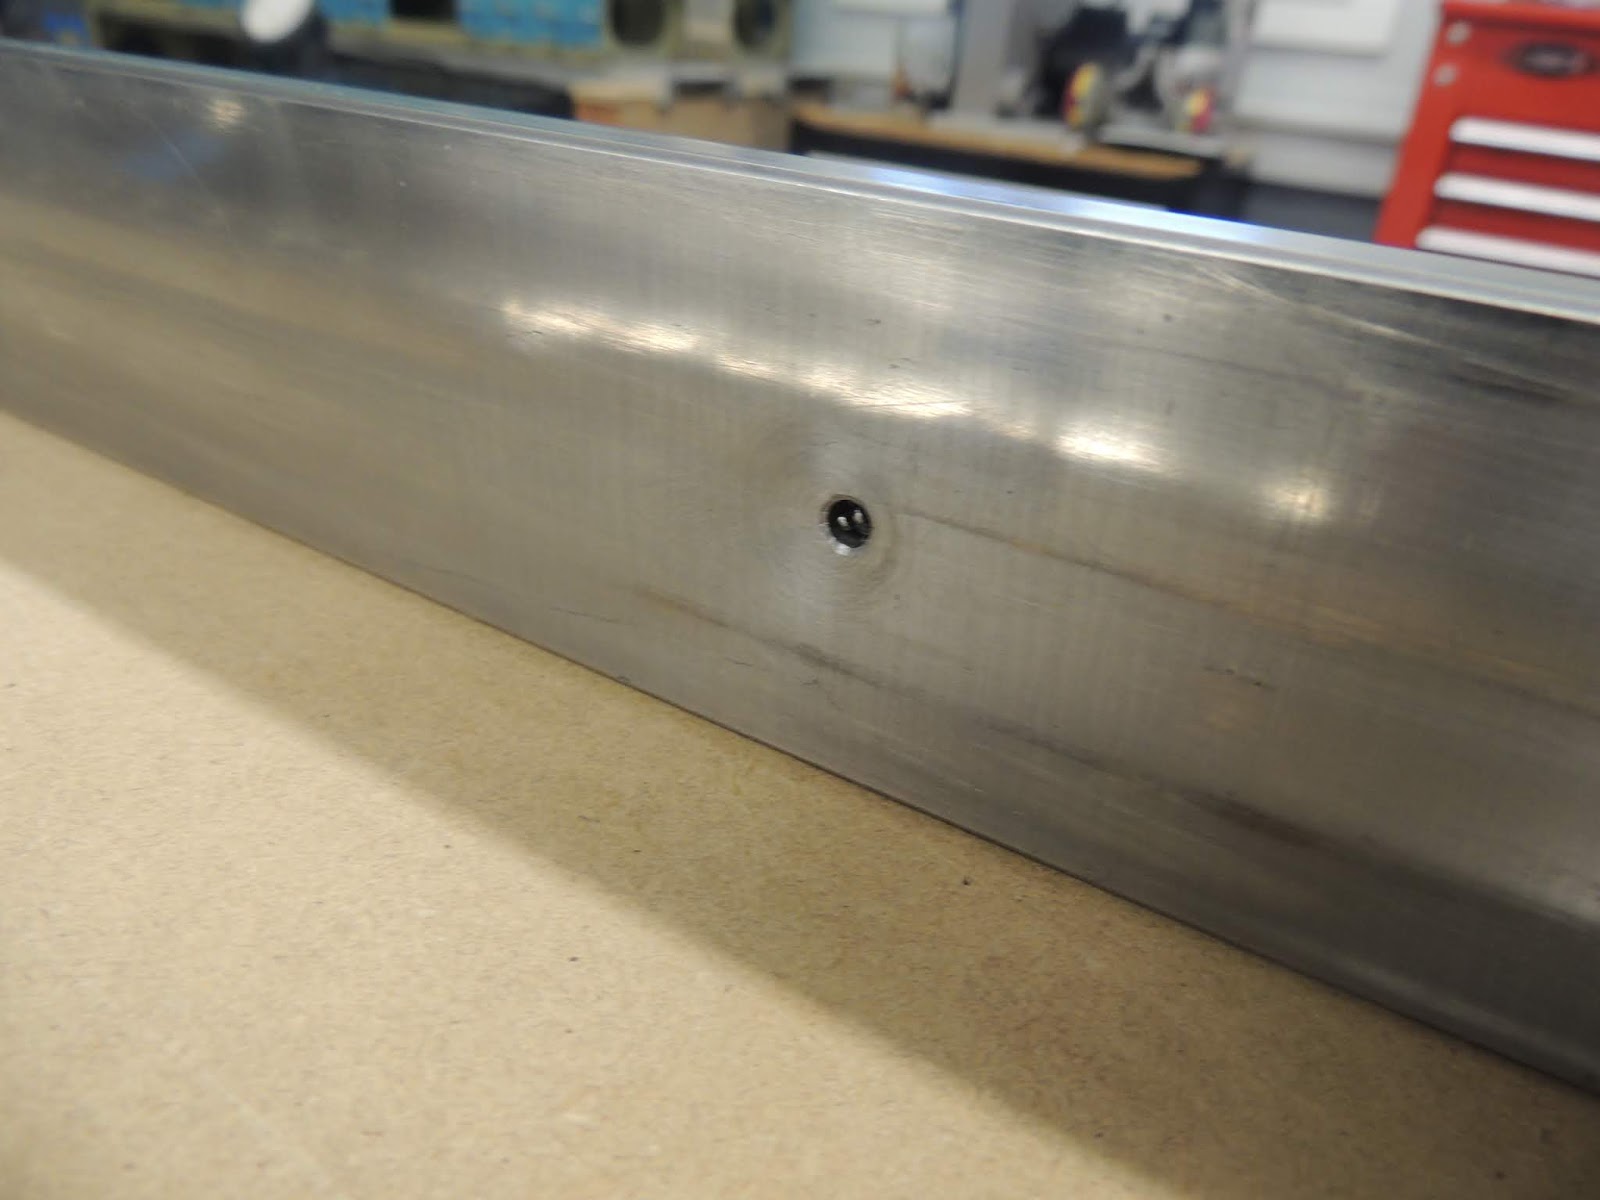
| Because I wanted the piece of flat steel to sit flat on my work bench, I had to countersink the under-side of the hole. This would prevent the "tail end"of the cleco from protruding and making contact with the work bench. You can see the tail end of the cleco in the hole. |
 |
| Left flap clecoed to flat steel for back riveting. I used the unistrut and piece of angle iron just to add a little extra weight during riveting. I placed a piece of plywood the same thickness as the steel under the forward section of the flap to shim it level with the trailing edge. |
 |
| I used the straight set and rivet gun to partially set all the rivets along the trailing edge. |
 |
| Here's a picture showing a rivet that has been partially set compared to un-driven rivet. |
 |
| Trailing edge rivets for the left flap after final setting. I used the straight set to final these rivets. You have to be very careful not to damage the skins using this set. I ended up with a couple of small smileys from getting a little too close. For the right flap, I used a different set to final set the rivets and it worked a little better. See pics below of the right flap showing that process. |
 |
| Neighbor Scott using pneumatic puller to set blind-rivets on lower flap skin. |
October 9, 2018
With the left flap completed, I started on the right flap. Since most of the prep work was done simultaneously with the left flap, it went pretty quickly. As with the left flap, I continued to use tank sealant to bond the trailing edge prior to riveting. Having used the double-sided tape for the rudder and elevators, I have to say the tape is a much simpler process. Using the tank sealant, all the dimples must be cleaned from the squeezed out sealant. Not difficult, but time consuming. However, I feel there may be a couple of advantages of the sealant over the tape method. First, with the tape, I felt like once the trailing edges are "stuck" together, there is very little opportunity for movement. If the skins are a little off, it can be difficult to adjust. Further, if the skins are off a bit and a twist is induced, you may be stuck with it. I felt like using the sealant, there was a little more opportunity to "adjust" the skins as they were being mated together, weighted down, and subsequently setting up. However, with all that said, I'm sure, with proper planning and technique, the tape method would work just fine with much less effort.
 |
| For the most part, I constructed both the left and right flaps using the same techniques. However, one thing I did differently on the right flap how I final set the rivets on the trailing edge. As seen in the photo above, to set the rivets just slightly, I used the rivet gun and straight flat set. After all the rivets were partially set, I switched to the small diameter round set shown the photo below. |
 |
| This is the set I used to final set the rivets on the trailing edge of the right flap. I felt it did a much better job, and less chance for skin damage, than using the straight set like I did on the left flap. |
 |
| Using the round set to final set the trailing edge rivets. The set is slightly convex which reduces the chance of skin damage. |
 |
| Most of the trailing edge rivets for the right flap are final set. The only ones remaining have the clecos I used to secure the flap to the piece of flat steel. |
 |
| Left and right flaps are complete. Overall, I'm happy with the way they turned out. The trailing edges are very straight, and the flaps appear to have no twist. We'll see how every thing looks when it comes time to line up the flaps, ailerons , and wingtips during installation later on. For now, I will store the flaps and move on to ailerons. |
See Wings (Primary Structure) section of blog for flap installation.


