Priming!
October 2015
Primer Prep using Prekote and Scotchbrite Pad
There is an endless debate among builders about priming aluminum aircraft parts. In fact, it's a subject that has come to be known as the "primer wars" because there's so much discussion and disagreement about it in the online forums, among builder groups, etc. It's not only a matter of deciding which primer to use, but how to prepare the surface before using it, and even whether to use it at all! Most of the parts, as they come from Vans, have an alclad surface. This is a very thin layer of pure aluminum laid down over the alloy that the part is made of. The alclad very quickly oxidizes to form a tough durable aluminum oxide coating that's actually quite resistant to corrosion. While Van's states priming is not required, it seems that most builders do in fact prime. Priming does add time, weight and money to the build, but I am giving into to peer pressure and will be priming.I will be prepping the parts for primer using ""Prekote". This is an environmentally friendly product that will allow the primer to properly bond to the aluminum. From my research, it does appear that this product does require a little more elbow grease than the non-environmentally friendly option of an acid etch followed by a chromate conversion product (alodine). The acid etch/chromate option simply requires the parts to be dipped in the solution then dried and primed. The Prekote option require the parts to be scrubbed using a scuffing pad and water, then dried and primed.
I'm no chemistry expert, but from my internet research, the acid/chromate process just wasn't for me considering I live in the burbs and would be using these chemicals in close proximity to people and pets. If I were in a different location, and used basic precautions, I believe the acid/chromate process would be the way to go.
The primer I will be using is AKZO Nobel 463-12-8. This is a chemically cured, two-component epoxy primer designed to provide maximum protection from various chemicals, hydraulic fluids, aviation fuels, and other corrosion causing media.

Here's the Prekote product I used to prepare the aluminum parts for the primer. This is what I used instead of using the acid type product (alumiprep) to etch the parts. Process wasn't too bad. Just a pair of rubber gloves, a maroon scotch brite pad, a little elbow grease and then rinsed with tap water. Once the aluminum Alclad layer, whether using acid or mechanical stripping, has been properly prepped (must have a water break free surface), it must be primed to protect from oxidation. The prekote product recommends priming within 24 hrs.
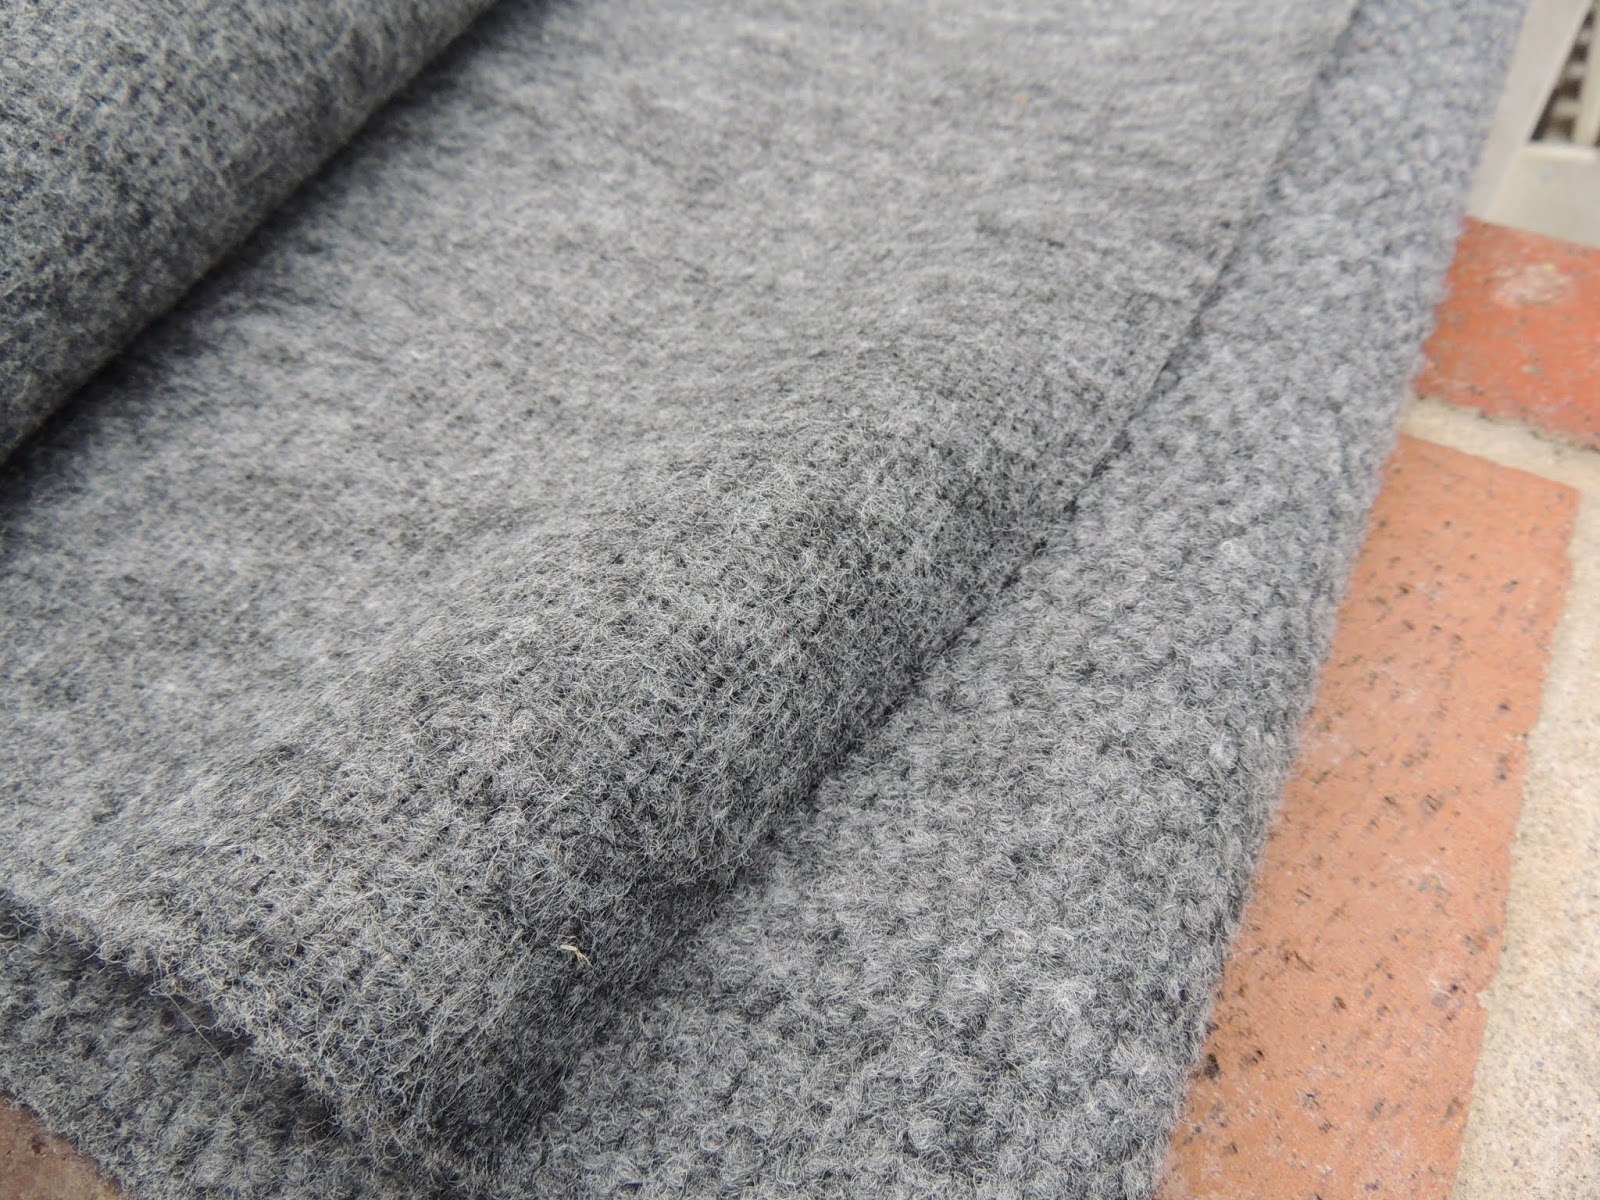 |
| This is the mat as seen in the photo above. I picked a roll of up at Lowes to use when prepping parts for priming. It protects the parts from getting scratched up on the concrete while scuffing them with scotchbrite pads and prekote. An additional benefit of this material is that it dries very quickly, even when completely soaked with water. I just hang it over my fence, and even on high humidity days it dries in a couple hours or so. |
 |
| The epoxy is mixed 1 to 1. I initially used small glass measuring cups and they worked ok, but they were difficult to clean and wasted a fair amount of paint. I found these stainless soup ladles on Amazon and they work great. Easy to dip the paint out and much easier to clean. |

The spraying process went pretty well. I have very limited experience using a spray gun but, after watching a few youtube videos, it wasn't that bad. Not ready to do a "finish" paint job, but not too bad for a primer coat. I used a Devilbiss FLG4 pain gun using the DeKups disposable cup system. Very easy to use and clean up. Just make sure to follow instructions and watch videos by Devilbis.
October 2019
Primer Prep using alumiprep and alodine
For the first several years of the build, I used prekote and maroon scotchbrite pads to prep the parts. I have been happy wuth the results, but it can be very time consuming especially with parts that have a bunch of nooks and crannies, which is almost all. I thought since I had a large batch of the fuselage parts de-burred and ready to prime, the alumiprep/alodine would be a good time to experiment and see if it would save some time. We had no problems dealing with the chemicals. I feel like we were very careful and had very little, if any, environmental contamination. Disposal is the tricky part, especially the alodine. I transferred all the alodine and rinse water into two five gallon buckets. The buckets were placed in a safe location to evaporate as much as possible. When most of the liquid is evaporated, I will mix it with concrete. I have read it is safe to dispose of at that time, although I will verify with my local waste disposal facility. Sounds like a lot, but not that bad and not the reason I will not be using the process again going forward. Long story short, I felt we did a good job with the acid etching and alodine prep. All the pieces came out the nice golden color and looked great. I primed the next day, and felt like the primer adhered well. However, a week or so later I had issues with primer cracking/flaking during dimpling that I had not experienced when using the prekote/scotchbrite prep method.
Here's a summary of a priming session for some fuselage parts where I used alumiprep and alodine as a prep method instead of my normal prekote and scotchbrite pad prep method. I was not happy with the results due to flaking primer during dimpling that I do not experience when using the prekote/scotchbrite prep. The primer did seem to hold up well in areas where there was no dimpling. I know some builders prefer to dimple before priming to alleviate this issue. However, for a few reasons, I prefer to dimple after priming. I never had this issue at all when I used the Prekote/Scotchbrite prep.
Here's a summary of a priming session for some fuselage parts where I used alumiprep and alodine as a prep method instead of my normal prekote and scotchbrite pad prep method. I was not happy with the results due to flaking primer during dimpling that I do not experience when using the prekote/scotchbrite prep. The primer did seem to hold up well in areas where there was no dimpling. I know some builders prefer to dimple before priming to alleviate this issue. However, for a few reasons, I prefer to dimple after priming. I never had this issue at all when I used the Prekote/Scotchbrite prep.
 |
| This is a piece that was prepped for primer using alumiprep and alodine. The dimpling was done after primer, my normal process. The pic shows how the primer cracked/flaked during dimpling. This dimpling was done a week or so after priming, so it was fully cured. I felt we did a good job using the alumiprep and alodine process to prep these parts and did not expect this result. |

The parts shown below were prepped the same day as the parts described above and primed with the same batch of primer. However, because they were too long to fit in the alumiprep and alodine tubs, I used the Prekote/Scotchbrite prep method.
 |
| These parts parts were prepped and primed the same day using the same primer batch as the parts that experienced the primer separation during dimpling. However, because the parts shown here were too long to fit in the tubs of alumiprep and alodone, I prepped these using my normal prekote and scotchbrite prep method. As seen in the pictures, the primer experienced absolutely no flaking or separation during dimpling. |
